How To Upload Resident Files
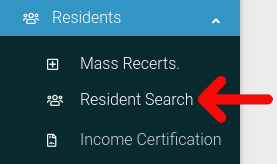
To get started, first we need to navigate to the resident actions page. Click on "Resident Search" in the left-side navigation.
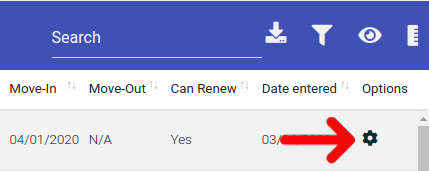
Find the resident you want to look at in the table. Then click on the cog icon located at the far right of the table.
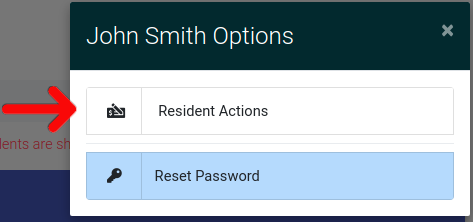
Select "Resident Actions" from the dropdown menu.
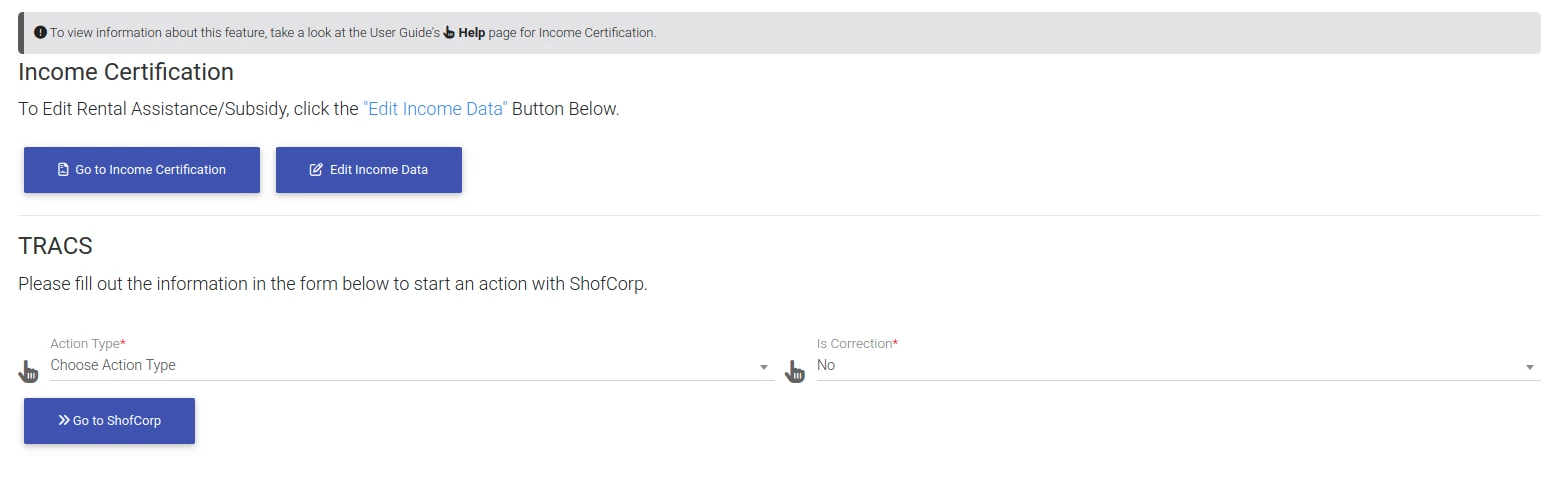
This will bring you to the Resident Actions page. Once here, scroll down to the tab "Income Certification & TRACS".
NOTE: If you do not have a ShorfCorp ID added to your property, you will not see this tab. See Editing Your Property to add in this value.

Click on the tab to expand it, and fill out the form below.