Vendor Ledger Create Check
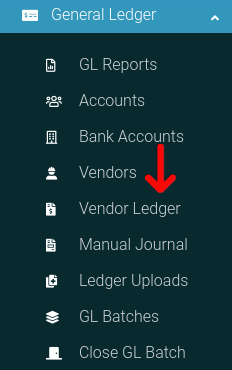
First please go to the correct link in the navigation as shown below to be directed to the correct page.
Add Charge
Adding a charge to the Vendor Ledger is simple, simply click the "Add Charge" button as shown in the header of the page to navigate to the correct location.

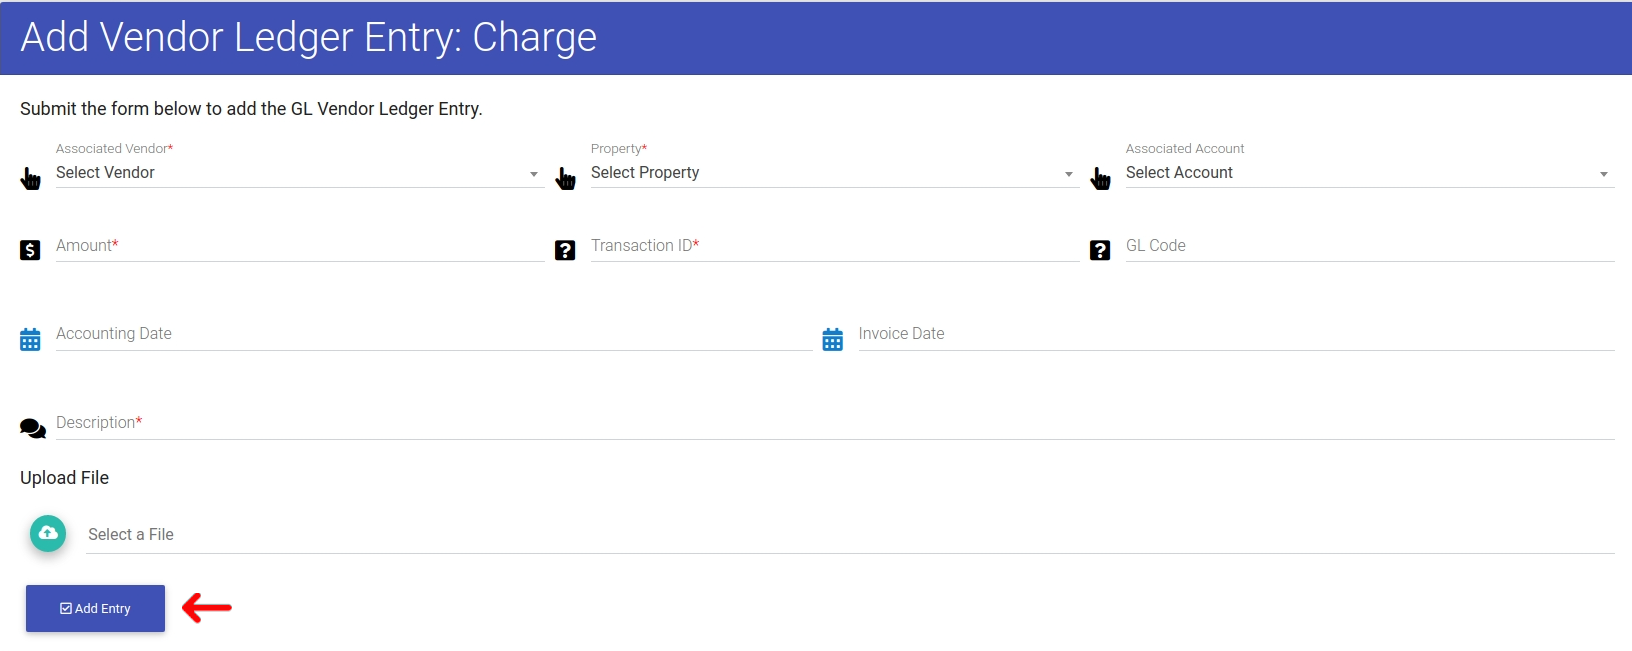
Now on this new page you can enter the data you wish to store the charge. Once you submit the form the data will be saved in the system.
Create Check
Checks can only be created from Vendor Ledger Charges. A charge requires payment so in this instance you can associate any GL Bank Accounts to create a check to use for payment.
To create a check, please click the Options Cog as shown here.

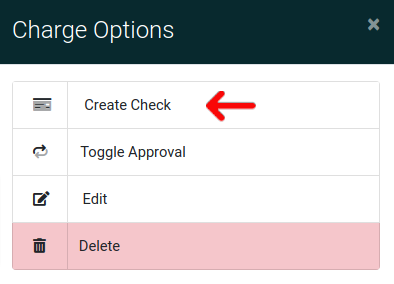
When the options modal appears, click the option to "Create Check".
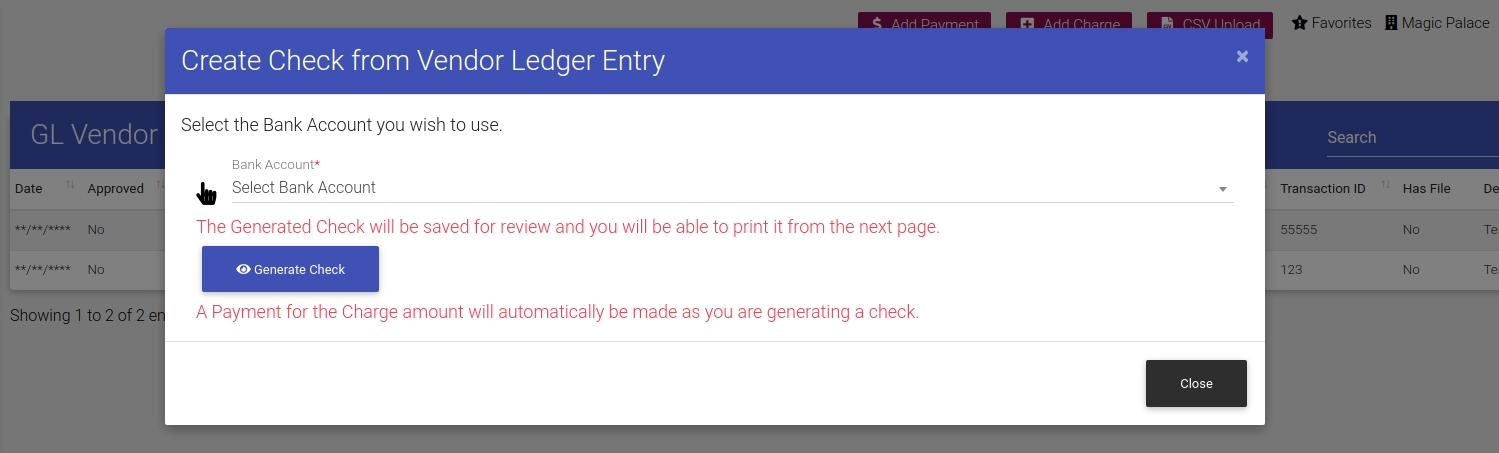
Now with the form in view, select the Bank Account you wish the Vendor Ledger Charge to be paid from and click "Generate Check".
And here is the next page showing you the printed check. To print from your printer either use the default browser print dialog, or click "Print Check" as shown below.
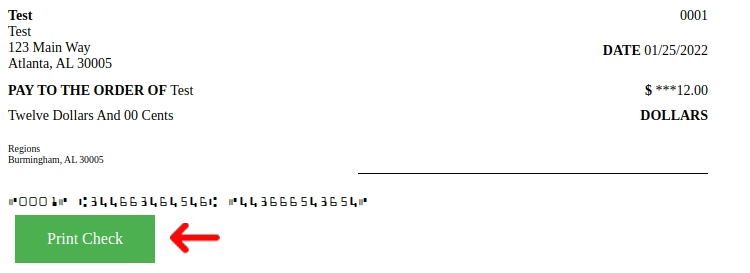
Please note that checks created from a Vendor Ledger Charge are automatically marked as a Payment in the Vendor Ledger upon check generation.