How to Occupy a Unit
Applicants who are ready to be moved in to a unit are found in the preleasing table
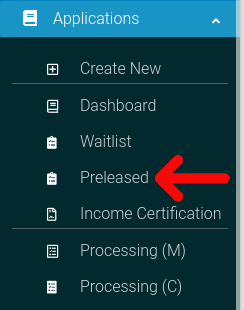
To occupy a unit, first find the "Preleased" tab in the side navigation.
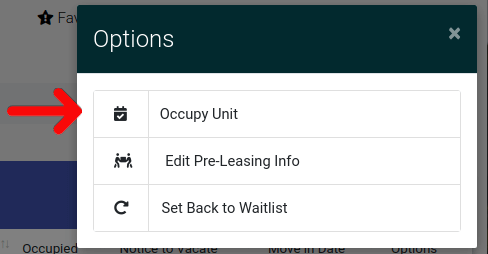
Find the applicant you are looking for. Click the cog icon () to bring up the options menu.

Select the "Occupy Unit" option from the pop-up menu.
You are now at the Occupy Unit page! From here, you can review applicant information, and set the lease date for the new occupant.
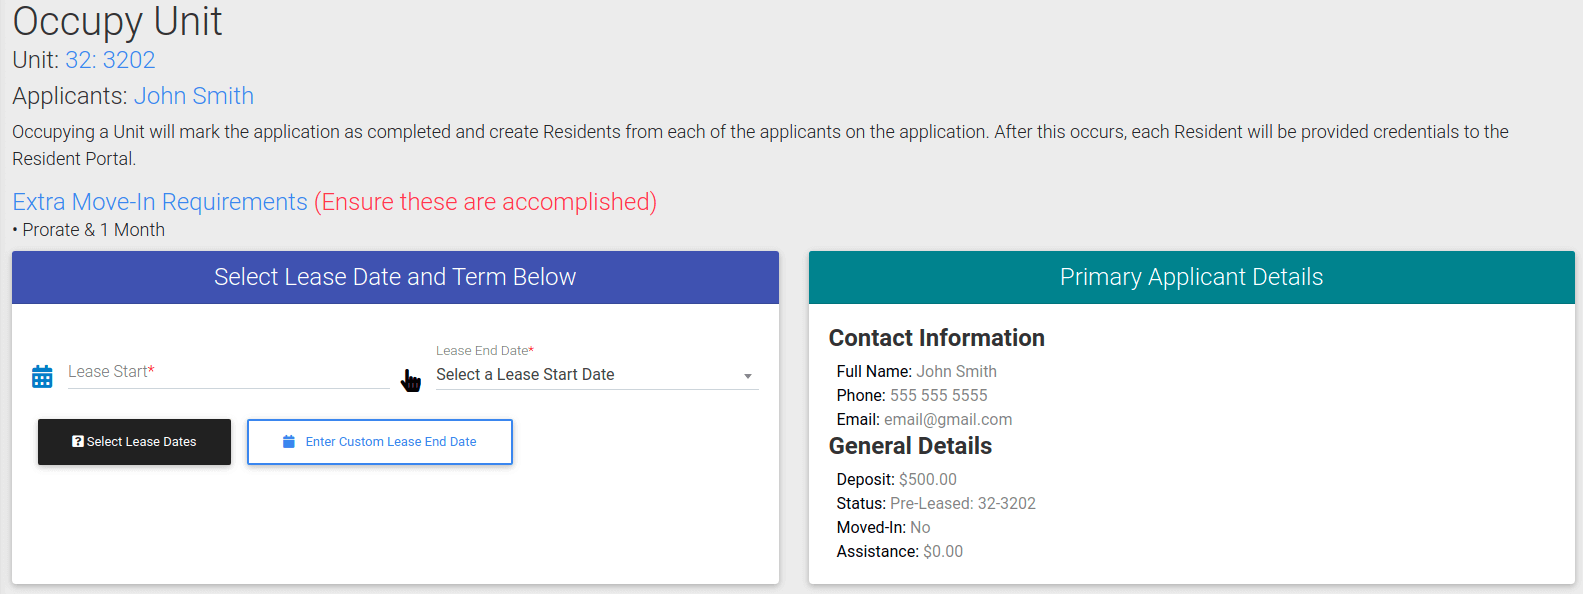
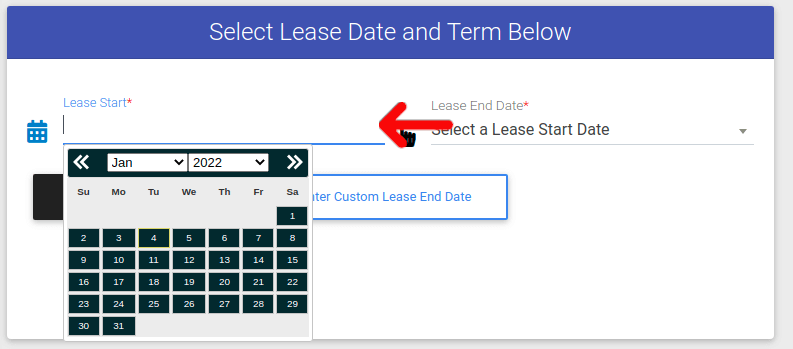
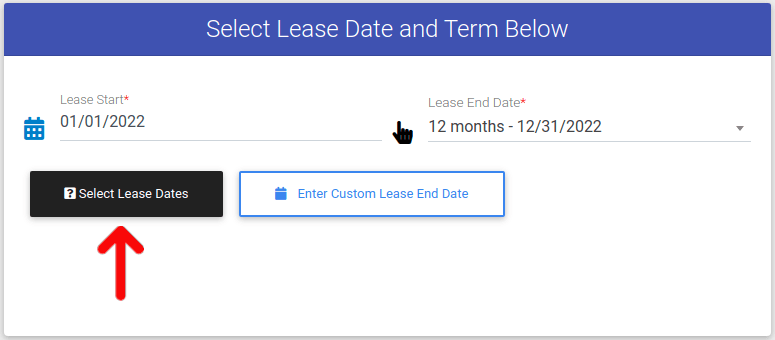
To occupy a unit you must enter a Lease Start date. The system will generate the lease end automatically based on your start date.
You can also enter a custom end date by pressing the "Enter Custom Lease End Date" button.
When you have entered dates into the Lease Start and Lease End, click the "Select Lease Dates" button. If all amounts owed are paid than your applicant will be moved in! If there are owed fees, continue reading this article.
If the applicant still owes fees, you will not be able to move them in. You will receive an error message stating how much they have left to pay. To proceed, click on the red button at the bottom of the "Select Lease Dates Below" card.
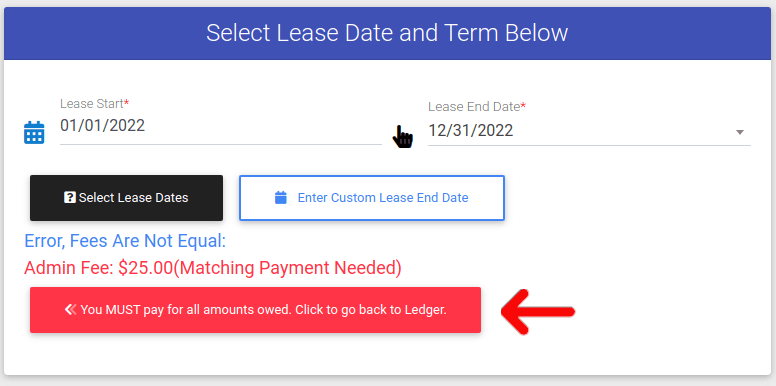
To learn how to make payments on an application, look documentation on how to add a payment to an application. After the applicant's owed fees have been paid, press "Select Lease Dates" again. Once all charges and payments equal zero, you will be able to move forward.
Learn how to add Application Payments or Application Charges.
After resubmitting the lease dates, a new button will appear called "Occupy Unit". Select "Occupy Unit" to move the applicant in.
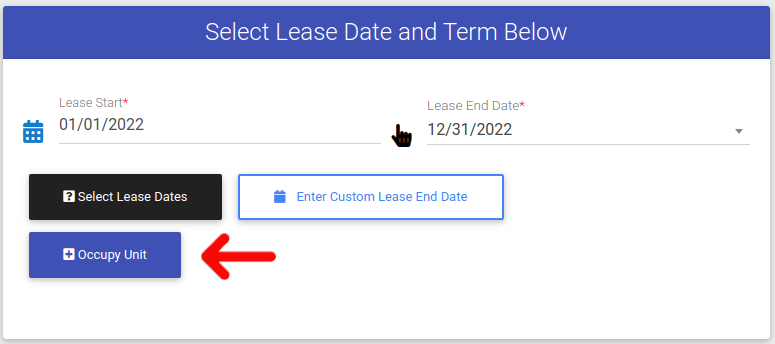
When the unit has been occupied, you will be redirected to the units page. You have successfully moved the applicant in!
