Creating Inspection Locations
Inspection Locations are used with Floorplans to help dictate which items need to be 'inspected' during move-in, pre-move-out and move-out inspections. You have the ability in ExactEstate to manually declare what Inspection Locations you wish to have for each Property.
Note these are similar to Inspection Items, but slightly different in that they are Location you inspect, not Items.
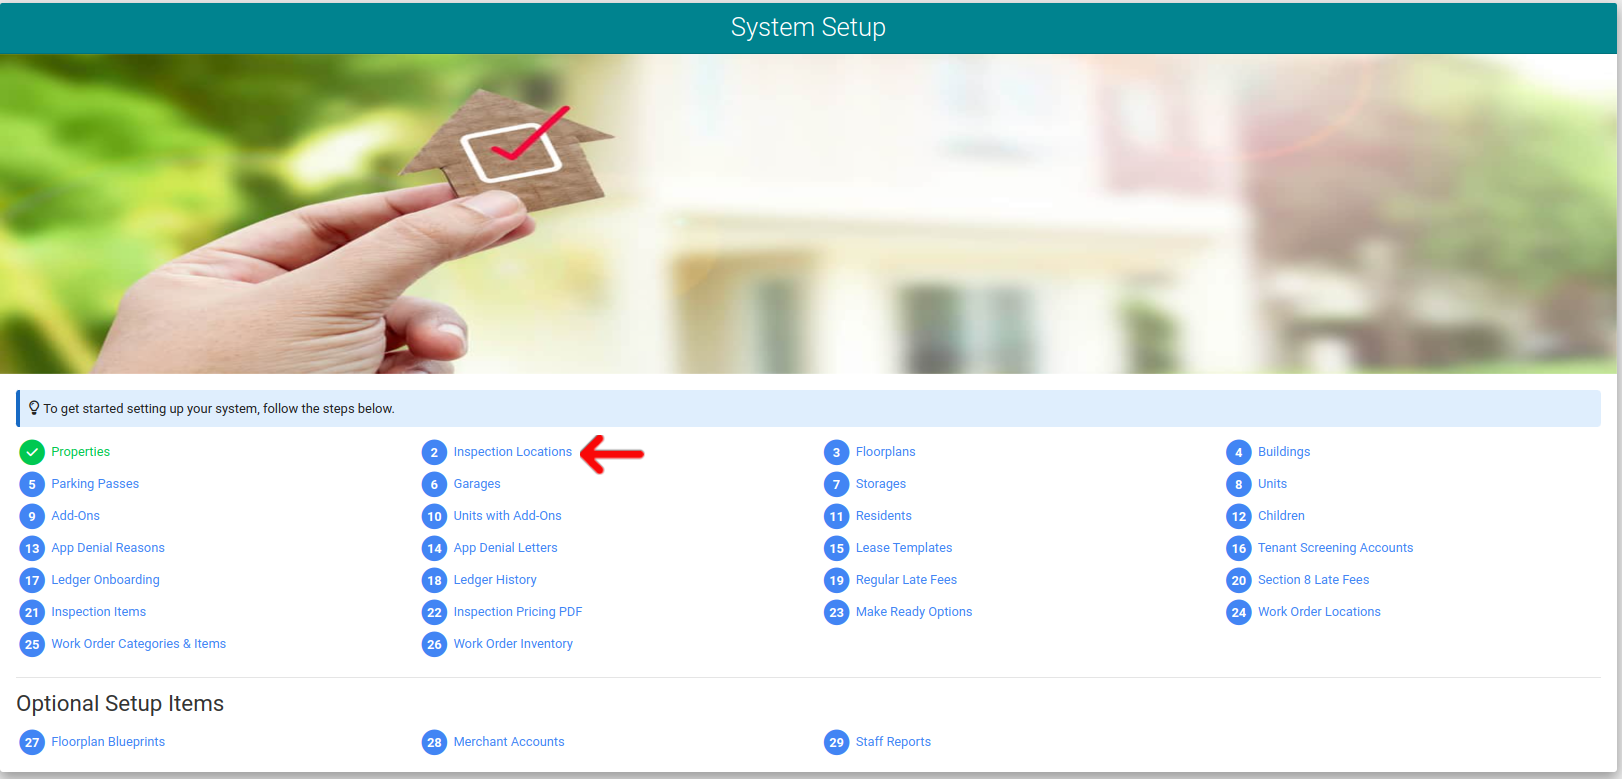
First, go to System Setup from the main Admin Navigation.

Click the "Inspection Locations" link from the card on the page to navigate to the correct page.
Manual Entry
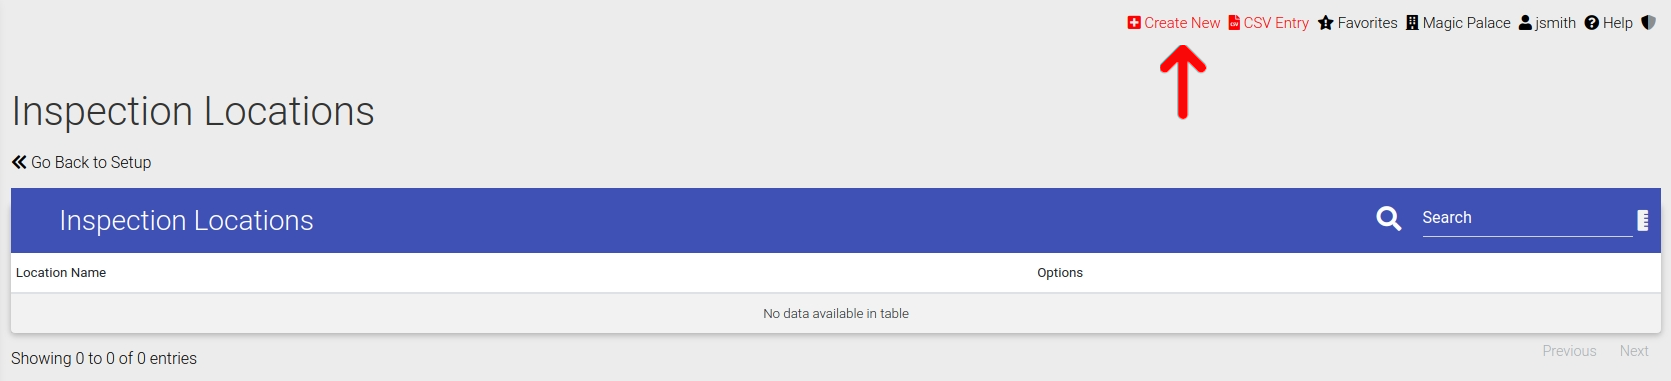
From the Inspection Locations page you will click "Create New" in the header.
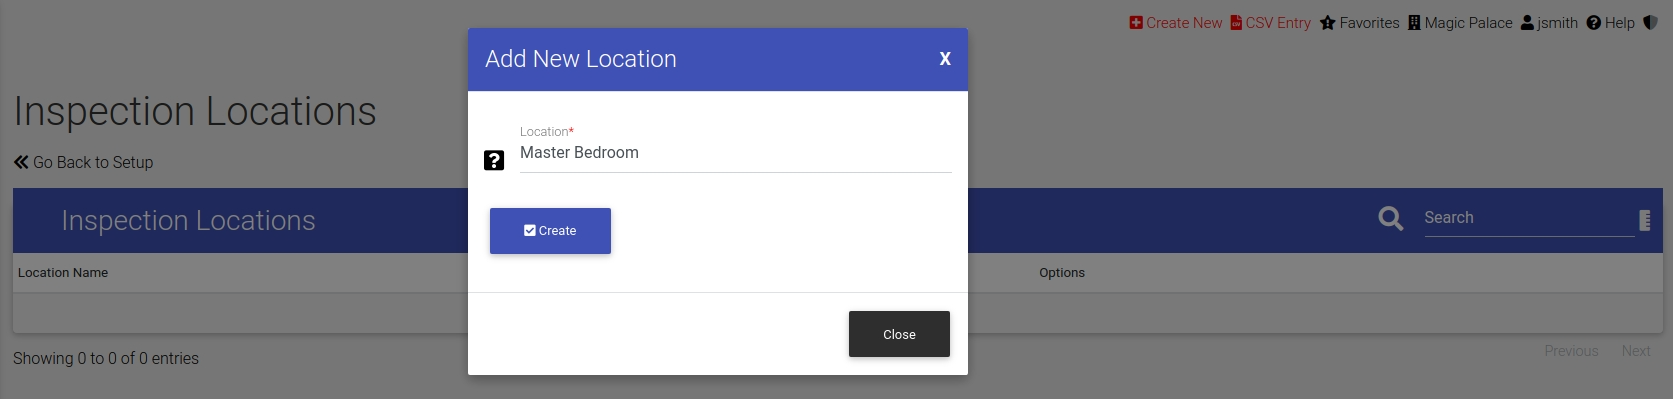
Then a pop-up modal will appear that you can enter in your Location into.
Once you submit the form you it will be added to the system and you are able to see the entry on the page.
CSV Entry
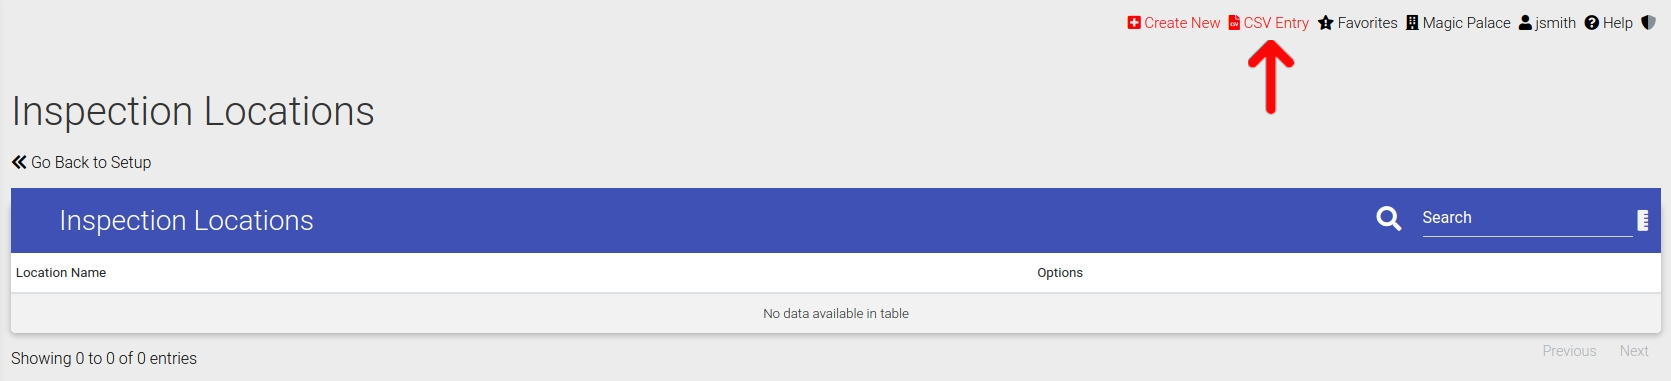
We also also quicker entry of Inspection Locations by the use of CSV. To upload using CSV, simply click the "CSV Entry" link in the header of the page.
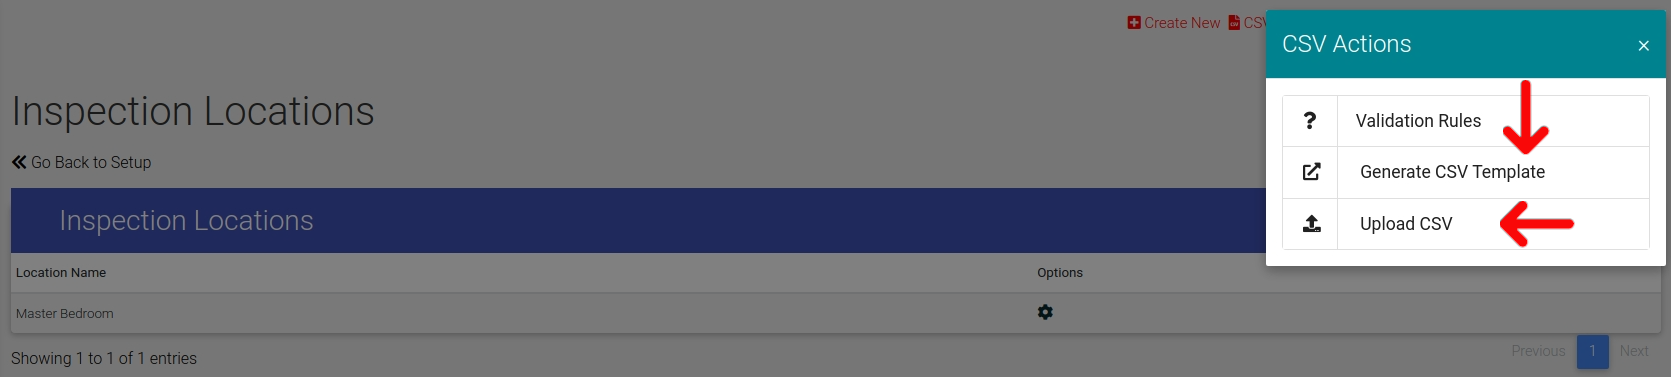
And from there you are presented with a modal showing Validation Rules, how to Generate the CSV, and then a link to Upload the CSV. Please generate the CSV template, fill everything out, and click "Upload CSV".
Once you click "Upload CSV" you are presented with another pop-up modal that enables you to upload your filled out CSV file that you generated earlier. Click submit and all entries will be added to the system.
Edit or Delete Inspection Locations
From the Inspection Location page you can click the Options Cog to open the options panel and there you will be presented with options to Edit or Delete your Inspection Location.